
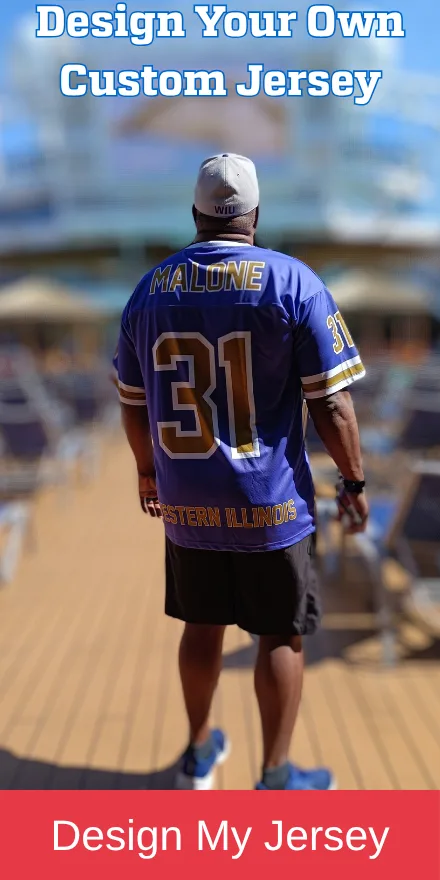
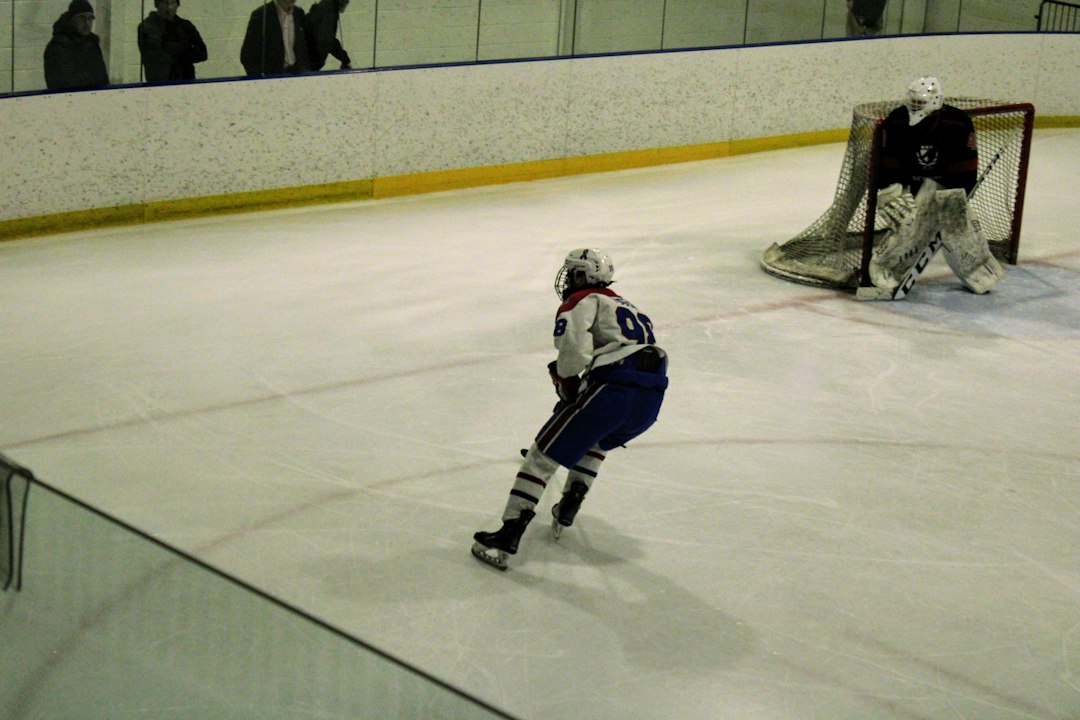
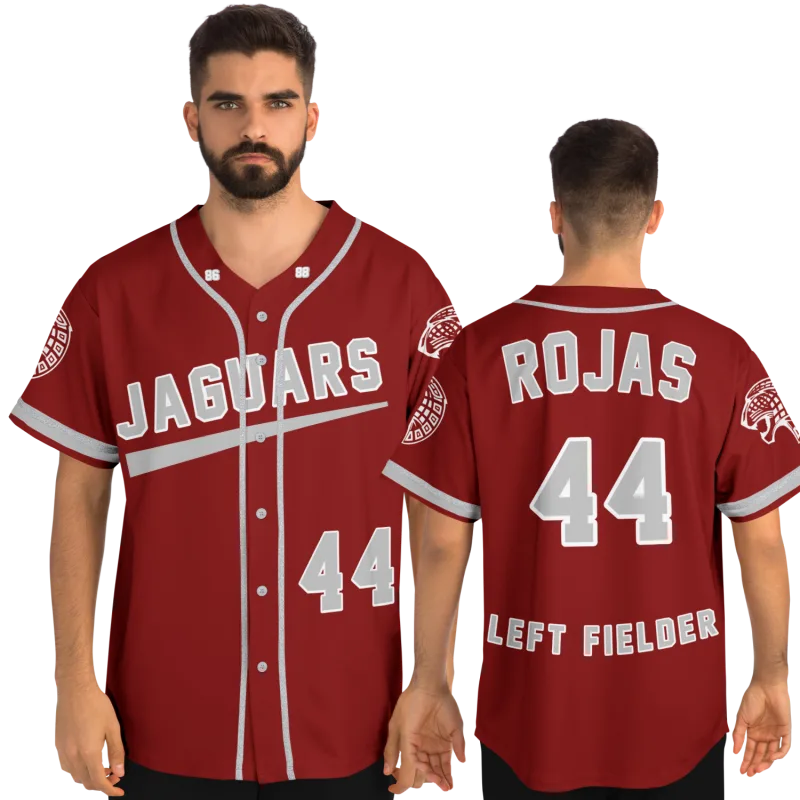
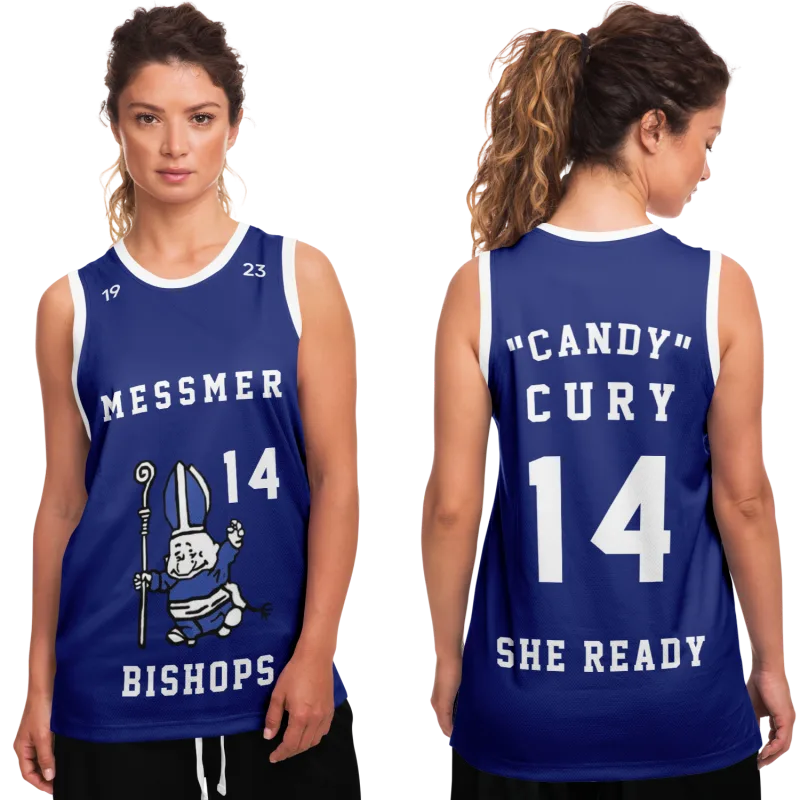
You still remember exactly how it felt.
The weight of it settling over your shoulder pads. The lace-neck pull cinched tight before warm-ups. The specific shade of your school's blue — not navy, not royal, something in between that only existed on that ice, in those years. You've thought about rebuilding it more than once. Then you typed something into Google, landed on a bulk-order site asking for your roster size, and closed the tab.
Here's what that search missed: custom ice hockey jerseys can absolutely be ordered as a single, one-off piece. The process just looks different when you're not a coach buying 20 units — it looks like detective work, and it requires knowing exactly what to spec before you hand anything to a maker.
This guide is written for the former player. The one with a yearbook in a closet, a team photo on their phone, and a number they still know by heart. We'll cover every step: pulling accurate details from a single old photo, decoding the construction elements that defined your era, and placing a one-off order that actually comes back looking right.
Why Most Solo Jersey Projects Fall Apart Before They Start
The bulk-order assumption is baked into nearly every custom hockey jersey site you'll find. Pricing tiers start at 12 units. Design tools ask for a "team name." Spec sheets have fields for a full roster. None of it is built for you.
But there's a second problem that sinks even the people who find a maker willing to do a single jersey: they show up without enough information. They describe their jersey from memory — "it was blue and white, with like a shield on the chest" — and they get back something that's technically blue and white with something shield-adjacent on the chest, and it looks nothing like what they wore.
The fix isn't finding a better maker. It's doing better prep work before you talk to any maker at all.
Two failure points kill most solo jersey projects:
- Insufficient source material — relying on memory instead of a verifiable visual reference
- Incomplete spec communication — describing the look without knowing the construction terms that translate it into a buildable order
This guide solves both. Do the prep work in Part 1. Then use Part 2 to spec the order with precision.
Part 1: Mining Your Source Material
Start With Every Photo You Can Find
Your goal before contacting any maker is to build a complete visual reference file. One photo is a starting point, not a finish line.
Work through this checklist in order:
-
Your personal yearbook — team photo pages often show the full front of the jersey in reasonable detail. Scan at the highest resolution your scanner allows. If you're scanning from a phone, use a flat-surface document scanner app — Adobe Scan and Microsoft Lens both correct for angle distortion and boost contrast on printed pages better than a standard camera shot.
-
Other players' yearbooks — the same team photo appears in every yearbook from that year. Someone in your network has theirs. A social media post to former teammates often surfaces three or four additional copies, sometimes in better condition than yours.
-
Local newspaper archives — school sports coverage from the 1990s captured more detail than people remember. Your county library likely provides free access to digitized archives. Search your school name plus "hockey" plus the year. Action photos sometimes show jersey back detail — nameplate font, number size, shoulder stripe width — that yearbook team photos never capture.
-
Game footage — if anyone filmed games on VHS and converted that footage to digital, resolution is low but construction details are often visible. Lace-neck configuration and sleeve stripes in particular show up clearly even in grainy video.
Once everything is collected, build a simple reference document: a shared folder or single file with all images attached and brief notes on what each one shows clearly.
Extracting Color Information From an Old Photo
This is where most solo jersey projects go wrong. Colors in 1990s print photography and yearbook printing are not reliable. Ink fades. The printing process introduced color shifts. What looks like burgundy in the photo may have been cardinal red on the ice. What reads as forest green may have been kelly.
Three ways to get closer to the actual color:
Cross-reference against an official source. If your school's colors were documented anywhere — a current athletic department page, a school history archive, a booster club site — that's your most reliable ground truth. School colors often have official Pantone or PMS numbers that have held consistent for decades even when the jersey program changed makers. One verified source for the official color is worth more than five photo samples.
Sample the scan with a color picker. Open your best scan in any image editor — even Preview on Mac works. Sample the jersey fabric directly with the color picker tool and record the hex code. Photo aging and scan color shifts mean this won't be perfectly accurate, but it gives a maker a concrete starting point rather than a verbal description.
Match against a physical swatch. If you still have any original equipment — a practice jersey, a warm-up, even a game sock in the right color — the fabric itself is your best reference. Many makers will accept a small fabric swatch shipped before the order is placed and match against it directly.
Reading Construction Details From a Single Photo
Even a low-resolution yearbook photo contains more information than most people extract. Here's what to look for systematically.
Collar configuration. This is the most era-defining element of 1990s hockey jerseys. Lace-neck collars — the V-neck opening held closed by a woven lace through eyelets — were standard through most of the decade before Velcro-close and crew-neck designs took over. In photos, look for a visible lace or the shadow of an eyelet row at the center-chest neckline. If the neckline looks clean and flat with no visible hardware, it's likely a Velcro-close mock-V.
Stripe placement and count. Count the stripes on the sleeve. Note whether they run the full circumference or stop at the underarm seam. Record the color sequence from cuff upward, and note approximate proportions — which stripe is widest, which is narrowest. Do the same for the bottom hem.
Crest detail. If your jersey had a chest crest rather than tackle-twill lettering, look for the general shape: shield, circle, mascot figure. Note how many distinct colors appear in the crest. Even a rough shape description plus your school name gives a maker's art department enough to work with.
Nameplate and number font. If any action shots show the jersey back, note the number style. Standard athletic block was the 1990s convention for most high school programs, sometimes with a single-color drop shadow. Whether a nameplate appears above the number is also worth noting — not every program used one.
Part 2: Speccing the One-Off Order
What "Custom" Actually Means for a Single Jersey
There's an important distinction between custom hockey jersey specialists who do one-offs and general custom apparel shops that happen to offer jerseys. You want the first category.
Fully sublimated custom hockey jerseys — where the design is dye-printed into the fabric before cutting and sewing — are now available in single-unit quantities from several specialist makers. Construction is hockey-specific: reinforced seams, appropriate fabric weight, hockey-cut proportions. The design process typically involves an online design tool or a direct conversation with a design team.
The alternative construction — embroidered or tackle-twill, where stripes and numbers are sewn-on fabric appliqués — is closer to what your original jersey actually was. But minimum order quantities for that method typically start higher, making sublimation the practical path for a true one-off. The visual result is accurate to the era; the construction method is different from the original. That's the honest tradeoff, and it's worth knowing before you place an order.
The Spec Document Every Maker Needs Before They Can Quote You Accurately
Before contacting any maker, prepare a written spec document with these elements completed. A maker who receives this can quote accurately and build accurately. A maker who receives "I want my old jersey rebuilt" is guessing — and guessing costs you revision rounds.
Here is what goes in your spec document:
- Primary base color — official school color name if known, plus hex code from your photo reference
- Secondary or accent color — same format
- Collar type — lace-neck, Velcro-close mock-V, or crew neck
- Sleeve stripe configuration — number of stripes, color sequence from cuff upward, approximate width proportions
- Hem stripe configuration — same format as sleeve
- Chest crest or lettering — shape description, color breakdown, best available image reference attached
- Number — your number; standard hockey placement is front and back
- Nameplate — last name only or full name; font style if identifiable from photos
- Size — hockey jersey sizing runs differently from standard apparel; use the maker's sizing guide, not your usual shirt size
- Construction preference — sublimated or tackle-twill, if you have a preference
Attach every photo reference to this document. Send it all together in your first message. Makers who receive complete specs on first contact turn orders faster and ask fewer clarifying questions.
The Era Reference: What 1990s High School Hockey Jerseys Actually Looked Like
Understanding what was standard for the era helps you make accurate calls when your photo evidence is ambiguous — and it helps you communicate with makers who weren't there.
The design language of professional and national team jerseys set the visual tone that high school programs worked within throughout the decade. The Colorado Avalanche hockey jersey introduced in 1995 — with its burgundy-and-blue palette, bold crest, and disciplined stripe work — became a benchmark for what a serious hockey jersey was supposed to look like. The aesthetic of USA Olympic hockey jerseys and the team canada olympic hockey jersey designs from the 1998 Nagano games influenced many programs' upgrade cycles in the late 1990s. The clean, high-contrast approach of the team sweden hockey jersey — minimal ornamentation, strong color contrast — appealed to programs that wanted a modern look over traditional crest-heavy designs.
None of that means your jersey was styled after any of those. But knowing the design vocabulary helps when you're describing proportion and style to a maker who needs a visual frame of reference beyond your single yearbook photo.
For high school programs specifically, the construction standard of the 1990s included:
- Heavy polyester-mesh shell — noticeably weightier and slightly rougher than today's sublimated fabrics
- Sewn-on tackle-twill numbers and nameplates
- Lace-neck collar on most models through approximately 1997–98, when Velcro-close began appearing in program upgrades
- Shoulder yoke seam construction — the color break at the shoulder was a physical seam, not a print boundary
A sublimated rebuild will approximate this look but won't match the fabric weight or seam construction of the original. That gap is real, and it's worth setting expectations accordingly before the jersey arrives.
Jason M., 38, went through three attempts before his jersey came back right. The first two orders had the correct colors but a modern crew neck — he hadn't specified lace-neck, and both makers defaulted to current construction. His fix was simple: he put "lace-neck collar — mandatory" in the subject line of every subsequent inquiry. The third maker confirmed it in the proof, and the jersey came back exactly as he'd specified. One line of text in an email subject field was the difference.
Finding the Right Maker for a One-Off Order
The search term that returns the right results is "single jersey custom hockey" or "one-off custom hockey jersey" — not "custom hockey uniforms," which skews toward bulk-order results, and not "hockey jersey" alone, which returns licensed merchandise for professional teams.
What to look for in a maker:
- Minimum order quantity of 1 stated explicitly on the product page — not buried in FAQ
- A design tool or design team that accepts photo references as part of the brief
- A digital proof provided before production begins — this is non-negotiable
- A clear revision policy on the proof stage, stated before you commit
What to watch for:
- Per-unit pricing with minimum quantities disclosed only at checkout
- No mention of a proof stage anywhere in the ordering process
- "Custom" defined as selecting from template designs rather than building to your spec
If a site's design tool asks you to choose from preset color schemes and won't accept an uploaded photo reference, that's a template shop, not a true custom maker. Move on.
The Proof Stage: Your Last Opportunity to Catch Every Error
Every maker worth working with sends a digital proof before production begins. Treat it as the most important step in the entire process — not a formality to click through.
Review the proof against your reference photos with this checklist:
- Stripe color sequence matches your reference (sequence, not just the color names)
- Stripe width proportions approximate your reference
- Collar type is correct and visible in the proof rendering
- Crest shape and color breakdown are accurate
- Number font and any outline treatment match what you specified
- Nameplate placement and font are correct
- Overall color read matches your school colors, not just the hex you submitted
When something is wrong, say so specifically. "The outer sleeve stripe should be the primary color, not the accent color — please swap those" is a correction a maker can execute. "It doesn't look right" sends them back to guessing.
Most makers include one revision round at no charge. Some include two. After that, revision fees are standard. The detailed proof review is where you spend the time — not after the jersey ships.
Your jersey is still out there waiting.
Design yours in minutes and see your name and number exactly the way you remember it.
Frequently Asked Questions
Can I rebuild my high school hockey jersey from just one yearbook photo?
Yes — with preparation. A single yearbook photo is enough to extract collar type, stripe configuration, approximate colors, and crest shape. The gaps are usually color accuracy (yearbook printing shifts colors over time) and back detail (nameplates and numbers rarely appear in team photos). Supplement your yearbook photo with action shots, teammate copies, or official school color documentation wherever possible. The more complete your reference file before you contact a maker, the more accurate the finished jersey.
Do custom hockey jersey makers accept single-unit orders?
Some do, some don't. Search specifically for "single jersey" or "one-off" custom hockey rather than "custom hockey uniforms," which returns bulk-order results. Fully sublimated makers are more likely to offer single-unit ordering than tackle-twill embroidered makers, where setup costs are higher per unit. A single custom hockey jersey built to your spec typically runs $80–$150 depending on construction complexity and the maker's process.
How do I make sure the maker builds a lace-neck collar instead of a modern crew neck?
Use the term "lace-neck" explicitly in your spec document and put it in the subject line of your first email. Some makers list it as "traditional lace collar" or "tie-neck construction." Attach a reference photo that shows the lace clearly at the neckline. Then confirm it appears correctly in the digital proof before you approve production. Collar type is one of the most common spec errors in era-accurate builds because makers default to current construction standards unless the lace-neck is specified, confirmed in writing, and verified in the proof.
What if my school's crest doesn't exist anywhere in digital form?
More common than most people expect, especially for schools that closed, merged, or rebranded athletic programs. Your options: describe the crest shape and color breakdown to the maker's art department and ask them to create something in the style of the original; check with your school's athletic department or alumni association for archived logo files; search newspaper photo archives for action shots that show crest detail more clearly than your yearbook scan. Some makers will work from a hand sketch if no better reference exists. A build that captures the right shape and color proportions reads as accurate to anyone who wasn't there — and as close enough to anyone who was.
Is there a licensing issue with having a custom jersey built in the style of my old school's design?
For personal use, no. Having a garment built to your personal specifications — inspired by a jersey you actually wore — is different from commercially reproducing a protected trademark. You're not manufacturing for sale; you're commissioning a custom piece for yourself. That said, if your school's mascot or crest includes elements that were separately trademarked (uncommon but possible), confirm the maker's policy before the order is placed. Most reputable custom makers are familiar with this question and will tell you directly if anything in your spec raises a concern.
See also: personalized sports gifts vs. generic alternatives | what to do with your old varsity letter jacket | jersey sizing numbers explained | the psychology of why your high school athletic memories are so vivid | how to create a custom sports shadow box