
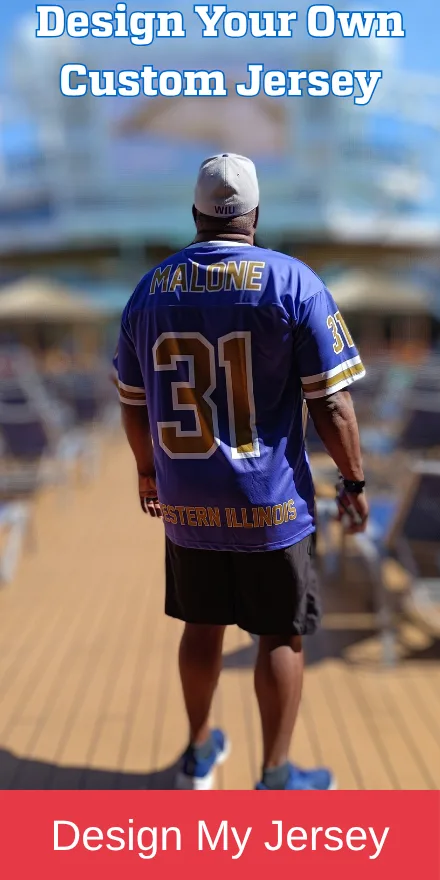
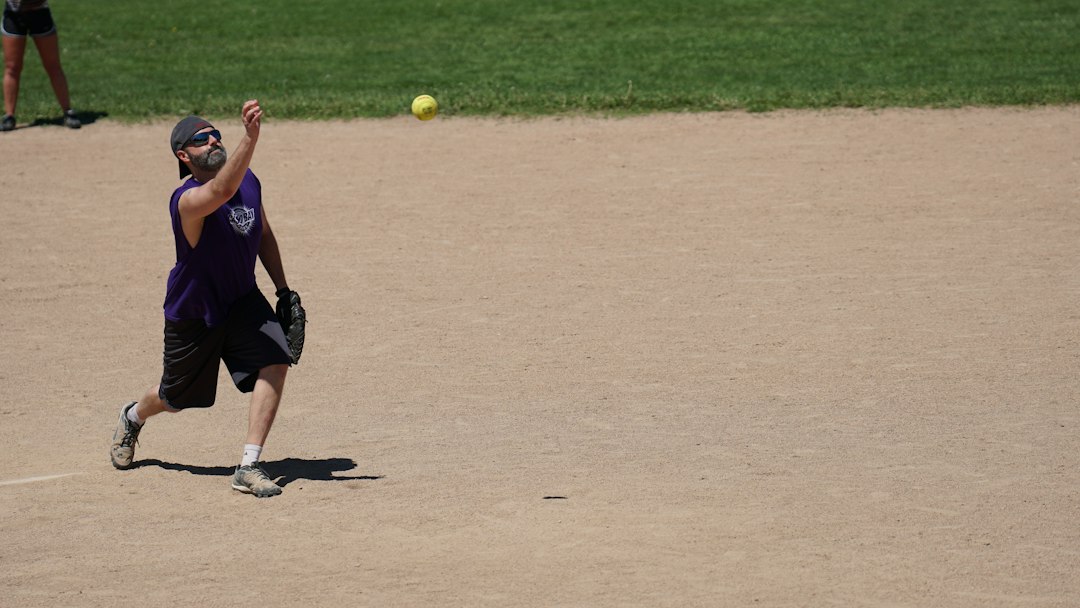
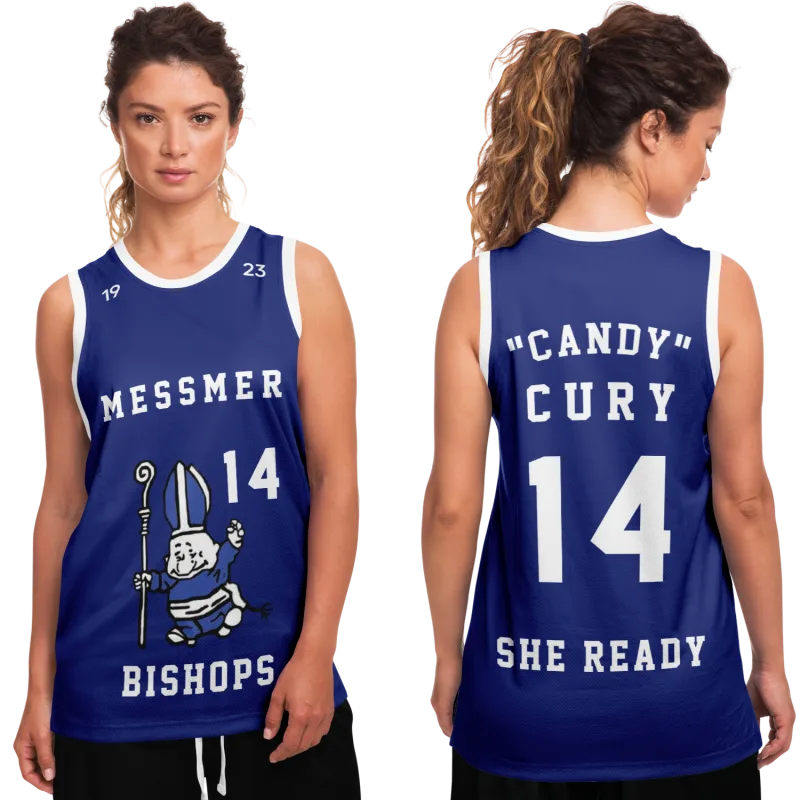
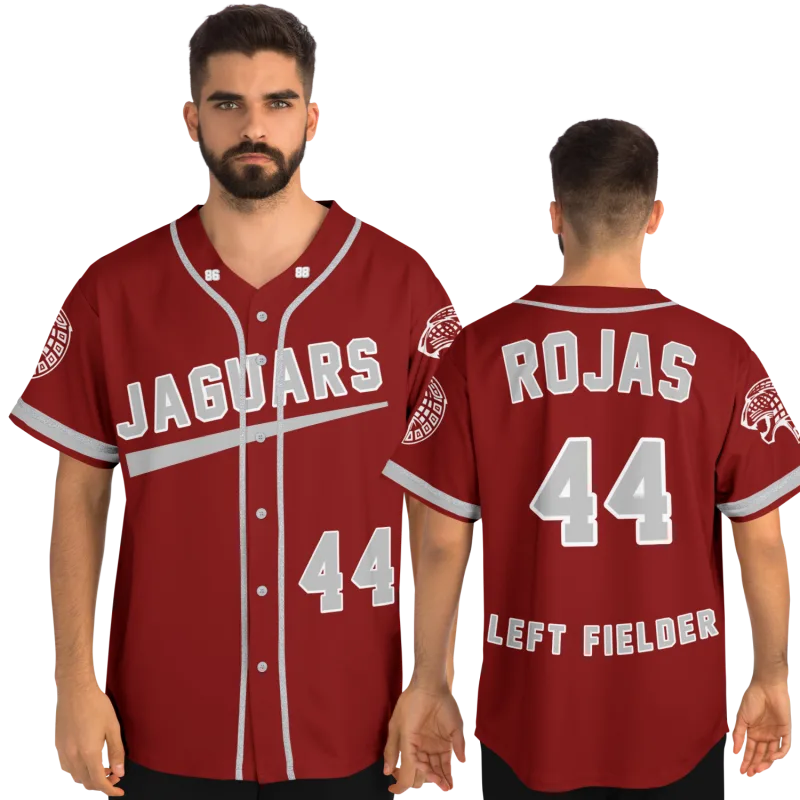
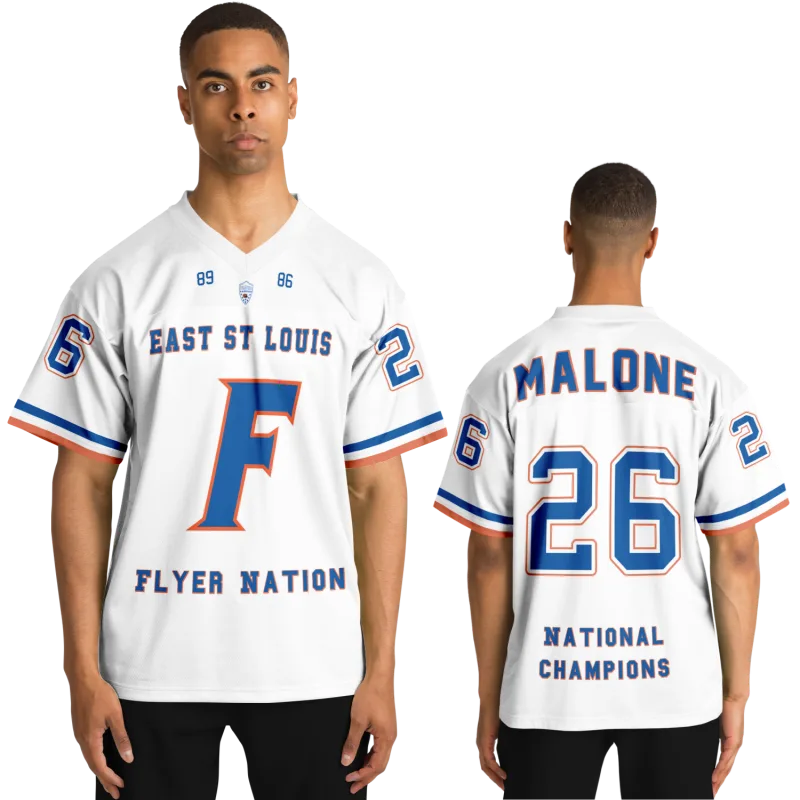
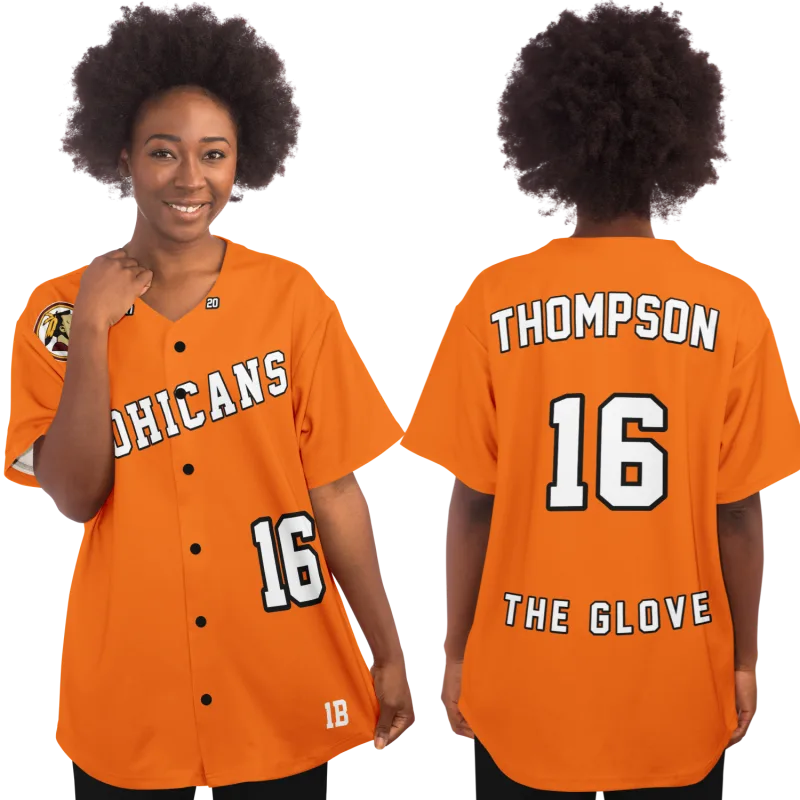
Custom design softball jerseys exist in two completely different markets — and almost every search result you've landed on before this one was built for the wrong one. The team-order market: coaches, athletic directors, league coordinators buying 18 units minimum. That's where the big platforms live. This article is for the other market — the former player who wants exactly one jersey, her jersey, rebuilt from a faded yearbook photograph or a single 4×6 print from a disposable camera.
That photo is in a box somewhere. Maybe it's a yearbook page, maybe it's a frame from a parent's camcorder tape someone finally converted to a JPEG. You're mid-slide into second, or on the mound, or leaning against the dugout fence. The jersey you're wearing — that specific colorway, that number, that font your school used for exactly three seasons before they switched — looks right in a way nothing has since.
This guide covers how to extract every recoverable design detail from an old photo, which elements must be precise versus which can be safely approximated, and exactly how to brief a custom jersey vendor as a single individual ordering a single piece. By the end, you'll have a concrete process — not a vague starting point.
What You're Actually Rebuilding (And What That Requires)
Before you open a design tool or contact a vendor, understand what a softball jersey is as a design object. Not the fabric — the design DNA. Rebuilding from memory or a photograph means knowing which elements carry the identity and which are background noise.
A softball jersey has four design layers, and they do not carry equal weight.
Layer 1 — Color blocking: The base color of the jersey body, the sleeve color if different, and any contrast panel. This is the easiest layer to recover. Even a low-resolution scan gives you the primary color relationship.
Layer 2 — Lettering and numbering: The specific font, the size relative to the chest, the fill color, and whether the letters had an outline or drop shadow. This is where most recreations fail. People remember the team name and number but not the specific letterform. The difference between a blocky slab serif and a collegiate script is the entire personality of the jersey — get this wrong and the finished piece feels like a costume, not a keepsake.
Layer 3 — Piping and trim: The stripe patterns on the sleeves, collar, and sides. Single piping, double piping, raglan-sleeve trim, no piping at all. This layer screams "wrong era" louder than any other when it's approximated carelessly. A jersey with no piping where the original had double-stripe raglan seams is a completely different visual object.
Layer 4 — Crests, patches, and embellishments: School mascot on the chest, conference patch on the sleeve, the specific placement of the number relative to the name bar. These are the hardest details to recover and the most specific to your school and season.
In our experience, the people who get the best recreation results inventory these four layers separately — in writing — before they brief anyone. Don't go to a vendor with "it was blue and white with our school name." Go in with: "royal blue body, white sleeves, double red piping on the raglan seam, block lettering in white with a red outline, number on the back in the same font, no chest crest." That level of specificity is what separates a genuine recreation from a thematic guess.
How to Extract Design Details from a Single Old Photo
This is the part no other guide covers — because every other guide assumes you have a design file, not a photograph.
You do not need a high-resolution image to recover the essential design data. You need a systematic process for reading the image you have.
Step 1: Isolate and Enlarge Each Design Layer Separately
Open your photo in any image viewer that allows zoom — your phone's native photo app is sufficient. Do not look at the full image first. Zoom in on each layer in sequence, starting with the smallest detail.
Start with the collar and sleeve hem. Even in a 1996 yearbook scan, you can usually determine whether there was piping and roughly how many stripes. Count them. Note whether the stripe runs along the raglan seam or the straight sleeve seam — these are different constructions that produce different silhouettes on the finished garment.
Move to the chest lettering. Zoom until the letters fill your screen. Are the serifs blocky and square (slab serif), tapered and traditional (classic serif), or absent entirely (sans-serif)? Is there visible space between the letters, or do they arch tightly across the chest? Is there a shadow or outline visible even in a faded image? The letterform question is the single most important thing to resolve before you brief a designer.
Move to the number on the back or sleeve. Is it the same font as the chest lettering? (Often yes, but not always — some programs used a different weight or style for numbers.) Is there a name bar above the number, and where does it sit?
Step 2: Build a Reference Sheet, Not a Mood Board
A mood board says "something like this." A reference sheet says "this specific thing." The distinction matters enormously when you're briefing a vendor as a single individual without a team account or a purchase history.
Your reference sheet should be a simple document — a notes app page works fine — with these labeled entries:
- Base color: Your best description plus the closest named athletic color (royal blue, navy, true red, scarlet, forest green — not just "blue")
- Secondary color(s): Same process
- Piping description: "Double stripe, approximately equal width, in [color], running along raglan seam"
- Font character: Block/slab, collegiate script, sans-serif, or traditional serif
- Outline or shadow: Yes or no, and what color if yes
- Crest or mascot: Describe it in words — "block letter P in a circular seal" or "running panther facing right" gives a designer more to work with than a blank
- Number placement: Back only, back and sleeve, or back and front chest
This reference sheet is your briefing document. Send it to every vendor you contact before any other conversation.
Step 3: Use Secondary Sources to Fill the Gaps
Your yearbook photo is not your only source. Former athletes regularly overlook these:
- Other players' photos from the same season. A team photo gives you multiple angles on the same jersey. One image might show the collar detail clearly; another might reveal the sleeve stripe width. Use them together.
- Local newspaper archives. County newspapers from the 1980s through early 2000s have been widely digitized. A search for your school name and sport may surface action shots with angles the yearbook photographer never captured.
- Your school's athletic department. Some schools retain uniform records or photography archives. A brief email explaining the project costs nothing and occasionally produces a design file or vendor contact that shortcuts the entire process.
According to USA Softball's official uniform regulations, sanctioned uniforms require consistent numbering and lettering standards — which means the fonts and layouts used during your playing years were often drawn from a fairly standardized pool of athletic typefaces. That's useful context when you're narrowing down font options with a vendor: the field of period-accurate choices is smaller than it might seem.
What Can Be Precisely Recovered vs. What Must Be Approximated
Here is the honest breakdown — because overselling what's recoverable leads to disappointment, and underselling it produces a generic jersey that only rhymes with the original.
Elements You Can Recover with High Fidelity
Color blocking is recoverable in almost every case. Even a faded image gives you the color relationship. If you remember wearing "the blue one" and the photo shows a two-tone jersey with a lighter body and darker sleeves, you have the blocking. Exact Pantone matching can be refined through your vendor's color card.
Piping structure — number of stripes, position on the jersey — is visible in most degraded images. The exact stripe width may require approximation, but "double stripe on raglan seam" versus "single stripe on straight sleeve" is almost always determinable.
Basic letterform category is recoverable from any image where the letters are legible. You may not identify the exact font name, but you can identify whether it's script, block, or sans-serif — and that's enough to brief a designer who will offer period-appropriate options for you to select from.
Elements That Require Approximation
Exact font name. Unless your school used a well-documented commercial athletic font, you may not be able to name the typeface precisely. What you can do is select from the options your vendor presents, eliminating choices that are clearly wrong until you land within one or two fonts of the original.
Exact Pantone color. Colors shift in photographs, shift further in scans, and shift again on screens with different color profiles. The practical solution: ask your vendor for their standard athletic color card and select by name rather than by screen appearance.
Crest or mascot artwork. If your school had a custom mascot illustration — a panther, a warrior, a custom letter mark — and you don't have access to the original artwork file, recreation requires either commissioning new vector art or finding a close approximation. This is the one element where "close enough" is genuinely acceptable, because viewers of the finished jersey will recognize the spirit of the original without needing pixel-perfect reproduction.
Briefing a Vendor as a Single Individual: The Custom Softball Jersey for One Person
This is where most former athletes stall. They have their reference sheet, they've done the photo analysis — and then they hit a custom jersey website that says "minimum order: 6 units" and close the tab.
That experience points to a vendor-selection problem, not a product-category problem. Custom softball jerseys for one person absolutely exist. The market has shifted meaningfully toward individual and small-batch orders, driven by the same nostalgia market you're part of.
The team-supply channels — Champro softball jerseys, Rawlings softball jerseys, Adidas softball uniforms, Under Armour softball uniforms — are built for volume. The Nike softball uniform builder serves program-level orders. These are not the right vendors for a single-jersey recreation project. Even the most established brands in the team space run on minimum-order economics that don't bend for individual buyers.
What you're looking for is a sublimation-first custom shop. Full-dye sublimation jerseys are built individually from a design file — no screen printing run required, no batch minimum. These vendors treat single-unit orders as their standard business model, not as a reluctant exception. Canadian players looking for custom softball jerseys in Canada should search specifically for sublimation shops within their province before going to US-based platforms; local vendors eliminate customs delays and revision-round communication friction that can slow a detailed recreation project significantly.
Before committing to any vendor, ask these four questions:
- Can you match colors from a written description and your color card, or do you require a Pantone number?
- What font library do you offer, and can I see the full options before finalizing?
- Do you provide a digital proof before production begins?
- What is your revision and return policy for single-unit orders?
The digital proof question is non-negotiable. A custom softball jersey for one person is a meaningful purchase. You need to see the design rendered before fabric is cut. Any vendor unwilling to provide a proof on a single-unit order is the wrong vendor for this project.
Maria C., 41, ordered a recreation of her 1998 high school varsity jersey using a single yearbook photo and a team picture she found in her mother's attic. She worked through the layer-by-layer analysis, identified that her school used a two-color block font with a white fill and red outline, and built a reference sheet before contacting anyone. The vendor she chose sent three digital proofs — adjusting the piping width after the first, the number font weight after the second — and she approved the third. She wore the finished jersey to her school's 25-year reunion weekend. "It wasn't exactly right," she said. "The collar was slightly different. But when I walked in, three people recognized it immediately. That's close enough."
From Reference Sheet to Finished Jersey: The Last Steps
Once you've selected a vendor and confirmed they serve single-unit orders with a digital proof process, the workflow is direct.
-
Submit your reference sheet and all source photos together. Label every element clearly. Don't assume the designer will correctly interpret an unlabeled image.
-
Review the first proof layer by layer — not as a whole image. Check the font first, then the color, then the piping, then the number placement. This mirrors the sequence you used to analyze your original photo. Use it in reverse to evaluate what the designer has produced.
-
Give revision feedback in specific terms. Not "the font doesn't look right." Instead: "The font appears sans-serif but the original was a slab serif — please switch to a block option." Specific feedback produces faster, more accurate revisions.
-
Approve only when each of the four layers matches your reference sheet — not when the jersey looks good overall. When each layer specifically matches what you documented, you're done.
The process from reference sheet submission to approved proof typically takes 3–7 business days with a responsive vendor. Production of the approved sublimation garment runs another 7–14 days. Plan accordingly if you have a reunion, tournament, or event in mind as a target date.
Creating jerseys this way — one at a time, from photographic evidence, through a structured briefing process — takes more preparation than clicking through a team-order builder. It also produces something a team-order builder cannot: a jersey that is actually yours, recovered from the specific season you played in, rebuilt with the specific details that made it yours then and make it worth having now.
Your jersey is still out there waiting.
Design yours in minutes and see your name and number exactly the way you remember it.
Frequently Asked Questions
Can I design a custom softball jersey from a single yearbook photo?
Yes — and a yearbook photo is often enough to recover the four essential design layers: color blocking, piping structure, font category, and crest description. The process requires zooming into each layer separately rather than reading the full image at once. You may not recover the exact Pantone color or exact font name, but you can recover enough specifics to brief a designer who will narrow the remaining choices to a short list. A digital proof before production lets you confirm each layer before anything is cut.
How do I recreate a high school softball jersey design without the original files?
You don't need the original files. Original uniform design files are held by the school's athletic department or the original vendor — and they're rarely accessible years later. What you need instead is a reconstruction brief: a written description of each design layer based on your photographic and memory sources. Most custom jersey vendors who serve individual orders are experienced with recreation projects and can work from a written brief and reference photos. The critical step is selecting a sublimation-based vendor, which allows full customization without minimum-order requirements.
What jersey details matter most when I can only remember a few things?
Prioritize in this order: first, the font category — script, block, or sans-serif — because this single choice determines the jersey's entire visual personality. Second, the piping structure — number of stripes and their position on the jersey — because this is the most era-specific design element. Third, the color relationship — which parts of the jersey were which color. If you can provide these three things specifically, an experienced vendor can fill in the rest with period-accurate options that will feel right even if they aren't pixel-perfect reproductions.
Can I design my own custom jersey if I'm not a designer?
Yes. The vendors built for single-unit orders are designed for exactly this situation. You don't create the design file yourself — you brief the vendor using your reference sheet, they produce a design, and you review and approve it through a proof process. Your job is to provide specific, organized information about what the original jersey looked like. The vendor's job is to translate that information into a wearable garment. The more specific your reference sheet, the fewer revision rounds the process requires.
Where can I find a vendor for custom softball jerseys in Canada?
Search specifically for sublimation-based custom jersey shops within your province before going to US-based platforms. Canadian sublimation vendors serve individual orders as a standard offering, eliminate customs and duty complications, and allow easier communication during the revision-proof process. The same briefing process applies regardless of location — reference sheet, font selection, color card matching, digital proof before production.
See also: custom softball jerseys | personalized sports gifts vs generic options | what to do with your old varsity letter jacket | athletic identity after high school | getting the right fit with a jersey size chart