
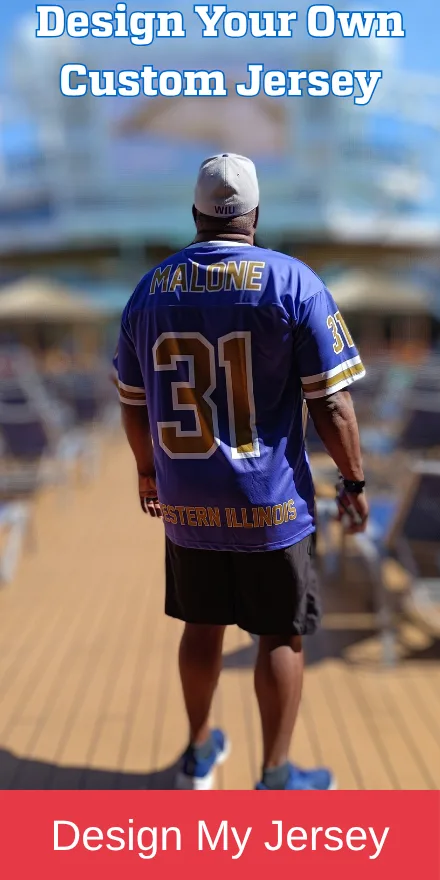
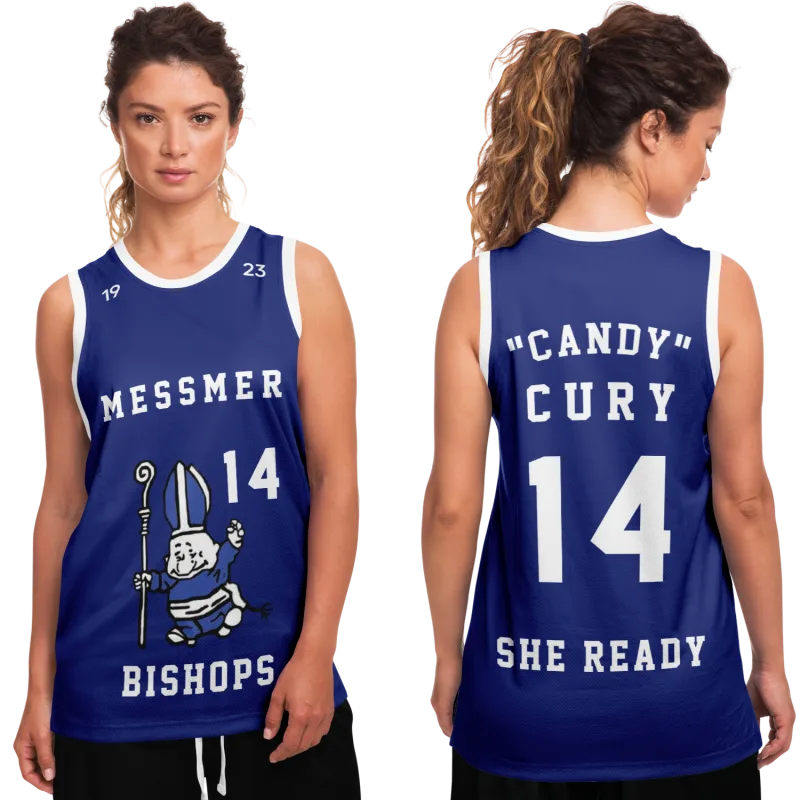
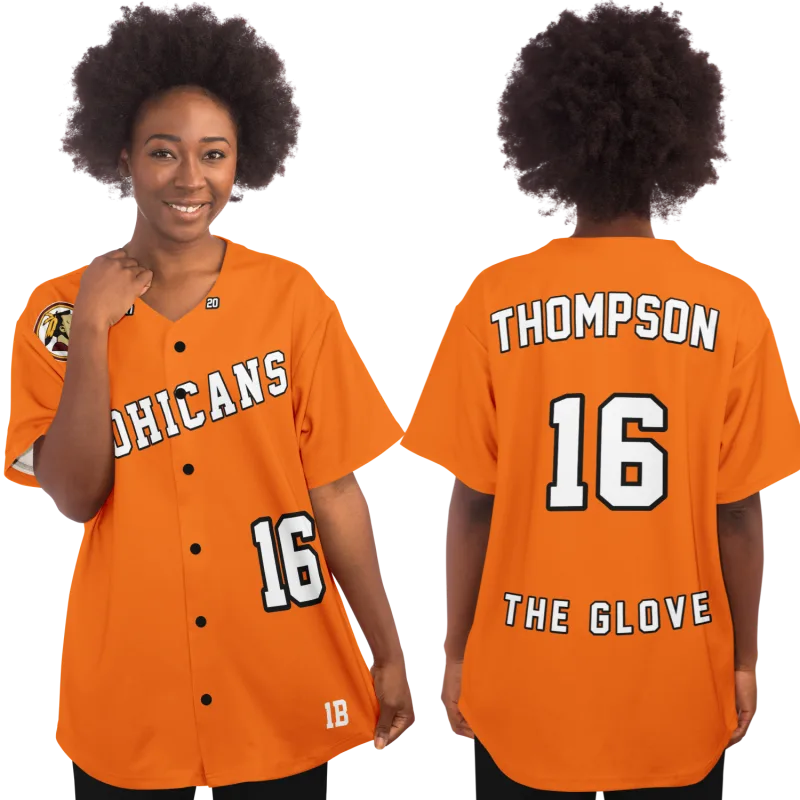
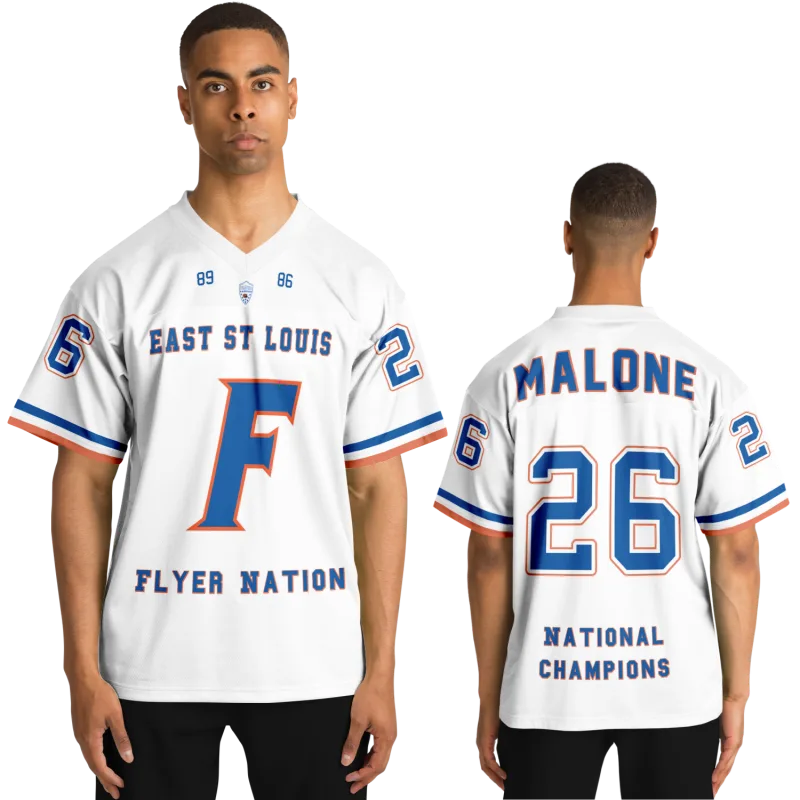
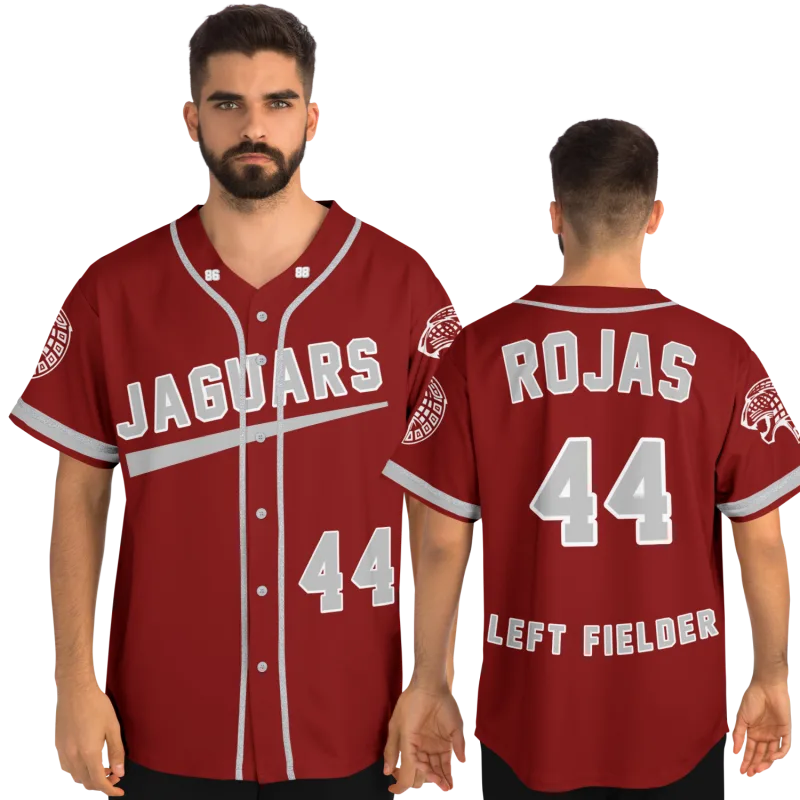
Flip to that page in the yearbook and everything comes back at once — your number, your name across the back, the exact color combination that belonged to a specific version of you. The jersey itself didn't survive. Lost in a move, worn to nothing, or simply never kept. But the photo did.
That photo is your starting point. If you want to recreate your old high school jersey, a yearbook image — clear or grainy — contains most of what a skilled custom maker needs to get the design right. The rest is a process, and this guide covers it completely, step by step.
This isn't a general overview of ordering a custom jersey from a photo. This is the specific playbook for someone who has a reference image, wants a finished jersey built in the style of what they once wore, and doesn't want to waste money on a result that comes back almost right. Whether this is for yourself, a reunion, a Senior Night tribute, or a gift — the process is the same.
Step 1: Build a Complete Spec Sheet Before You Contact Anyone
This is where most attempts go wrong — and it happens before the first email to a maker is ever sent.
The instinct is to find a jersey shop, send the photo, and ask them to work from it. The problem: makers who work from photos alone fill in the gaps with defaults — standard fonts, closest-match colors from their existing palette, construction choices that fit their typical workflow. Those defaults are rarely what's in your reference image.
The alternative is a written spec sheet that you build before contacting anyone. Your goal is to describe the jersey in enough detail that someone who has never seen the photo could produce an accurate design from your notes alone. That level of specificity is what gets you a result that actually matches.
Here is what to extract from the photo:
Colors - What is the base (body) color? - What is the number color? - Is there an outline color on the number — and if so, what is it? - What color is the lettering across the chest or back? - Are there side panels, stripes, or piping, and what color are they?
Describe only what you see in the photo, not what you remember. School colors have specific names that matter — "cardinal" and "scarlet" are different, "royal blue" and "navy" are different. If you can locate a second reference — an old game program, a team photo on the school's athletics page, another yearbook image taken under different lighting — use them together.
Number and Name - What number did you wear? - Is the back name a last name, first name, or nickname? - What font style does the number appear to be — block, collegiate, serif, script? - Are there drop shadows or 3D effects on the number? - Does a number appear on the front as well as the back?
Construction Details - Pullover or buttons? - Material appearance — mesh, polyester, heavier woven fabric? - Visible seams, piping, or contrasting trim at collar or sleeves? - Cut — sleeveless, short sleeve, long sleeve?
Logos and Lettering - Is there a school logo or mascot on the chest? - Any patches — conference insignia, championship year, commemorative detail? - What does the chest lettering say — school name, team name, or both?
Write everything down before you open a browser to search for makers. This document drives every conversation that follows.
Step 2: Get the Best Possible Version of the Photo
A low-resolution yearbook scan loses the details your spec sheet is trying to capture. Before you submit anything to a maker, spend thirty minutes improving the reference image — it directly affects the accuracy of what comes back.
Scan from the original book if you have it. Physical yearbooks scan better than photocopies. Use a smartphone scanning app — Adobe Scan and Microsoft Lens both work well — at maximum resolution, in natural light. This alone produces a meaningfully sharper image than a flatbed scanner under indoor lighting.
Use an enhancement tool on low-resolution images. Adobe Lightroom's Super Resolution feature upscales and sharpens low-resolution photos with useful results. Free tools like Let's Enhance work in a browser with no software required. You won't recover detail that was never captured, but you can reduce blur enough to make font styles and trim details legible.
Search for additional reference sources. Your high school may have digitized yearbook archives — the library or alumni office is worth a call. Local newspaper sports archives sometimes ran action photos showing jersey details that portrait crops don't reveal. Reunion Facebook groups for your graduating class are another productive source; someone often has images from different angles or events.
Correct obvious color shifts before submitting. Yearbook printing color fidelity has always been inconsistent. If your photo looks yellow or washed out, run a simple auto-correct in any photo editor — even a phone's built-in tool — to pull the colors closer to accurate. Send both the corrected and original versions to your maker and note the difference so they know which to weight.
Step 3: Find a Maker Built for Custom Recreation Work
Most custom jersey shops are built for new team orders — fixed templates, standard font libraries, a limited color palette. That works for bulk uniform runs. It doesn't work for a project where the goal is to build a custom jersey in the style of a specific vintage design that doesn't match any standard template.
Knowing how to identify the right maker saves significant time and money.
Ask about full custom capability before anything else. The question to ask: "Can I send a reference photo and have you match the design elements — including the specific font style and color values?" A template shop redirects you to a dropdown. A genuine custom maker responds with clarifying questions.
Confirm color matching is part of their process. The right maker will ask for Pantone numbers or accept a reference image and work from it. If the only color options are a fixed grid of twelve to twenty choices, you're looking at a template operation.
Understand the construction difference between sublimated and tackle twill. Sublimated jerseys print the design directly into the fabric — they're lightweight, fully custom, and handle complex color arrangements well. Tackle twill uses sewn-on letters and numbers, which is how most high school jerseys were built through the 1990s and 2000s. If your original was tackle twill and you receive a sublimated jersey, the visual difference up close is noticeable even when colors and fonts are accurate. Ask your maker which construction they offer and which they recommend for your specific reference.
Expect a realistic timeline. True custom work runs three to five weeks minimum. A quote promising delivery in under two weeks on a genuine single-piece custom order deserves a follow-up question about how they're achieving it.
In our experience, the clearest signal of a capable recreation maker is the quality of their questions before they quote. If a detailed quote arrives within five minutes of you submitting your reference photo, the photo probably wasn't studied carefully enough.
Step 4: Write the Design Brief That Drives the Whole Project
Your spec sheet becomes the foundation of a design brief — the single document you hand off to your maker that tells them exactly what to build. The more complete this document is, the fewer revision rounds the project requires, and the closer the first proof lands to what you're looking for.
A complete brief includes:
- The reference photo at the highest resolution you have
- Your written spec sheet from Step 1
- Any additional reference images — team photos, newspaper action shots, scanned programs
- Color notes — Pantone equivalents if you've identified them, or precise written descriptions where you haven't ("bright royal blue, not navy, not sky — closer to Dodger blue")
- Intended use — reunion wear, Senior Night display, framed keepsake — because this affects whether visual accuracy is the only priority or whether durability and wearability also matter
- Size and fit preference — matching the original feel, or a modern athletic cut
Send this as one organized message, not a scattered thread of follow-up emails. The makers producing the best custom work are in demand. A clean, complete brief is what earns your project focused attention.
Marcus T., 38, came to this process wanting to bring back the basketball jersey he wore his senior year — the one his father had kept for fifteen years in a framed newspaper clipping on the wall. He had one clear yearbook portrait and a blurry action shot from a local paper's digital archive. By building a complete spec sheet before contacting anyone, he was able to specify the exact gold shade (a warm old-gold, clearly different from bright yellow-gold), the block number font with its signature double outline, and the fact that the original was a mesh sleeveless cut. The finished jersey came back true enough to the newspaper clipping that his father couldn't immediately tell which was which. The detail that made the difference: Marcus noted in his brief that the school name used a serif font — something a template shop would have quietly swapped for a standard block letter without asking.
Step 5: Review the Digital Proof Like You're Comparing Two Documents
Every reputable maker sends a digital proof before production begins. This is your last chance to catch discrepancies, and it requires the same methodical attention you used when you built the spec sheet.
Open the proof and the reference image side by side on the largest screen available to you. Go through each element deliberately:
- Color accuracy — does the proof color look right? Ask the maker to confirm the Pantone or hex values they're using if anything looks off on your screen.
- Font style — is the number font the same style as the original, or has a stock font been substituted without being flagged?
- Proportions — are the numbers and lettering the same relative size as in the reference, or have they been scaled to a standard template default?
- Outline and shadow details — if the original had double outlines or a drop shadow on the numbers, are they present and accurate in the proof?
- Placement — is the back name positioned at the same height? Is the chest lettering centered the same way it appears in the reference?
When you request a revision, be specific. "Something looks off" is hard to act on. "The number font in the proof is a sans-serif block; the reference shows a serif block font with a horizontal slab at the top and bottom of each vertical stroke" is something a designer can correct in one pass.
Most makers include at least one revision round at no additional charge. Use it — a revision request costs nothing compared to receiving the finished jersey wishing you'd caught it earlier.
Step 6: Verify the Finished Jersey in Natural Light Before Anything Else
The box arrives and the instinct is to show everyone immediately. Take five minutes first.
Bring the jersey outside or to a window with good natural light and compare it directly to the reference photo. Yellow indoor lighting shifts color perception enough to hide discrepancies that matter. Check the physical construction as well: seams clean, tackle twill edges fully secured, color consistent across the fabric.
If anything diverges from the approved proof, contact the maker right away with photographic documentation. Reputable shops correct production errors that weren't present in the proof you signed off on.
If everything holds — and if the brief process was followed carefully, it should — you're done. You started with a photograph and ended with something tangible. That's the whole point of doing this right: to make your old jersey again in a form you can actually hold, wear, or display rather than just look at on a page.
Your jersey is still out there waiting.
Design yours in minutes and see your name and number exactly the way you remember it.
Frequently Asked Questions
Can I recreate a vintage jersey if I only have a black-and-white photo?
Yes — but color research becomes its own project. A black-and-white photo gives you everything about design structure: font style, placement, outlines, construction details. What it doesn't give you is color. Supplement it with every source available — your school's current athletics page (most schools haven't changed their colors in decades), newspaper archives that may include color coverage from the same era, or a direct call to the athletics department. Schools sometimes keep uniform records or can connect you with a former coach. A black-and-white reference plus thorough color research produces a better result than a color photo with no written spec sheet.
What does a single custom jersey realistically cost for a recreation project?
Genuine custom work on a single piece typically runs between $80 and $200, depending on construction method, fabric, and design complexity. Sublimated jerseys sit toward the lower end of that range. Tackle twill with sewn letters and numbers — the construction most vintage high school jerseys used — runs higher. Rush timelines and oversized print areas add cost. Get quotes from at least two makers, and treat quotes below $60 for a genuine single-piece custom order with skepticism — that price point usually signals a template shop without the flexibility your reference design requires.
How do I find my school's exact team colors if the photo isn't clear enough?
Start with the school's current athletics website — most schools list official colors and haven't changed them. If your school has merged, closed, or rebranded, try the local school district's site, a regional high school sports archive, or your state's high school athletics association, most of which maintain records going back decades. Alumni Facebook groups for your graduating class are consistently useful — someone almost always has documentation or can describe the colors precisely from memory. A local trophy shop or embroidery business that has served area schools for twenty or more years may also have historic color records from past uniform orders.
What if the school mascot or logo was part of my original jersey design?
For a personal tribute jersey ordered as a keepsake — for yourself or a family member — reproducing a school mascot for individual use is generally low-risk. This differs from bulk orders or commercial production. Some schools have trademarked their logos and occasionally enforce those trademarks even on individual orders, so it's worth asking your maker directly about their policy before you proceed. Many will work with a general mascot style — a generic eagle, panther, or knight rendered in the spirit of the original — without issue. If your school uses a distinctive copyrighted graphic, a skilled custom maker can help you arrive at a design that honors the original without reproducing it outright.
Can this process work for building a jersey as a tribute gift for someone else?
The process is the same regardless of who will wear or display the finished jersey. The main difference is the research phase: you'll need access to the other person's yearbook rather than your own, which may mean tracking down a copy or arranging to scan the relevant pages. For tribute jerseys — a parent's number, a late coach's uniform, a sibling's design from their Senior Night — the spec sheet step matters even more, because you can't verify details from personal memory. Collect every reference image available, build the brief with the same care you'd use for your own project, and involve the recipient in the proof review wherever that's possible.
See also: personalized sports gifts vs generic options | build a custom sports shadow box around it